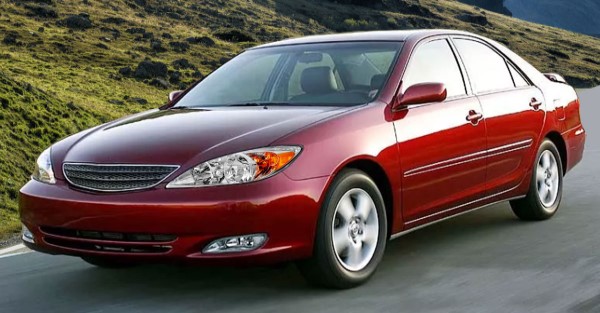
Headlight Assembly Replacement: A Comprehensive Guide

If you’re driving at night and your headlight assembly starts to fail, it can be a real hazard. Not only is it difficult to see the road in front of you, but you may also get pulled over for having a defective headlight.
In this comprehensive guide, we will walk you through the process of headlight assembly replacement. We will explain everything you need to know to safely and efficiently replace your headlight assembly.
When Do You Need To Replace Your Headlights?
A headlight is not something that you have to replace often; you will have to replace it when it's damaged in an accident, when its lens gets blurred, or when becomes fades over time.
#1 Headlight is Damaged in an Accident
One of the most obvious reasons to replace the headlight assembly is when it gets cracked during an accident. If your car has recently been hit from the front side, the headlights will likely be damaged and need replacement.
#2 The Outer Lenses Gets Blurred
The outer lenses of the headlights are made out of polycarbonate with a UV coating. However, over the years, the UV coating gets off and lenses are exposed to bright sunlight. Over time, the color of lenses changes from transparent to yellowish and then even worse. In that case, you can either use some kind of lens polisher or replace your headlight entirely.
#3 Switching to LED Headlights
Most vehicles are equipped with Halogen Headlights. At times, people want to replace their OEM headlight and replace it with an aftermarket led light assembly.
#4 Headlight is Dim
In most cases, if your headlight gets dim over time, you can replace its internal bulb. However, sometimes, that may not be an option. In these cases, you will have to do a complete headlight assembly replacement.
How to Replace the Headlight Assembly?
Replacing a bulb of a headlight assembly is a simple DIY task. You just have to open up the hood and remove the headlamp connections.
However, when it comes to removing the complete head assembly, it is a fairly difficult process. We would suggest you seek professional help in this case. But if you are determined to do it yourself, we can share out few tips from our side.
Step 1: Gather All Tools
Before moving on to this DIY task, complete your toolset. You will need mechanic gloves, a flathead screwdriver, a pair of pliers, and a new headlight assembly.
Step 2: Park your Vehicle in a Safe Spot
Park your vehicle in a safe spot before you start working on it. You don't want to risk getting hit by another car while you're under the hood.
Step 3: Consult your User Manual
If you’re not familiar with how to replace a headlight assembly, we suggest consulting your user manual. Each car is different, and the manual will explain the position of screws and connections. This would greatly help replace the headlamps.
Step 4: Take off the Hood and Remove Screws
Take off the car’s hood and remove off screws holding the headlight housing. In some cases, you might need to remove the fender or front bumper. Do as the user manual states.
Step 5: Remove the Electrical Connections
Before taking off the headlight make sure to unclip and remove all of the connections i.e fog lamps and parking lights etc.
Step 6: Take out Old Headlight Assembly
For taking out the old headlight, you will need to apply a significant amount of force. However, don’t pull too hard.
Step 7: Fix The New Headlight Assembly
To fix the new headlight assembly, you will need to line up the holes and screw them in place. Once it's secure, you can reconnect the electrical connection.
Please note that the installation process will vary depending on your vehicle. There are tons of DIY videos on YouTube that would guide you for the specific model. If you are not comfortable doing this procedure, don’t try it at home.
Where To Get The Best Replacement Headlight Assembly?
There are several places to get replacement headlight assemblies, but not all headlight assemblies are created equal. To ensure you are getting a high-quality headlight assembly, it's important to purchase from a reputable source like OEDRO.
Whether you're looking for a replacement headlight assembly for your Ford Trucks, Honda Sedans, or Chevys, all sorts of Halogen and LED headlight assemblies are available at our store.
About OEDRO
OEDRO is a leading provider of high-quality headlight assemblies and other automotive parts and accessories. With an extensive selection of headlight assemblies for both OEM and aftermarket applications, OEDRO is your one-stop shop for all your headlight needs. Some of these products are in Summer Sale. Buy Now to get the best price!!


.jpg)


